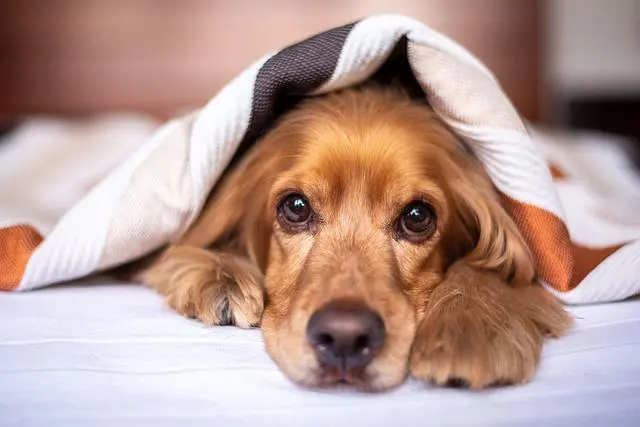
4 Easy Steps on How to Clean Dog Ears with Hydrogen Peroxide?
An ear infection is one of the most common reasons for dogs visiting the vet. Making sure that your dog has clean ears and there is no build-up of wax or debris in his ears will save you a lot of time and money in the long run. Not only is an ear infection extremely painful for your pup, but if it remains undetected and is not treated in time, it can cause permanent damage to your dog’s hearing.
As a dog parent, learning how to clean your pup’s ears naturally at home will save you time and money as opposed to taking your dog for grooming every other weekend, especially, if your dog has a history of ear infections and is more prone to getting them. In this article, we will learn how to clean your dog’s ear at home using hydrogen peroxide in a few easy steps.
Things You Will Need
Gather all the supplies needed for cleaning your pup’s ears and move your dog to a place where you can easily clean any mess made during the cleaning, as the process can get quite messy since dogs don’t really like the feeling of the cleaning solution in their ears.
- A towel.
- Cotton balls.
- Treats, it is essential that your dog is relaxed and comfortable while getting his ears cleaned as that will be easier for both you and your canine companion. That is why it is better to keep his favorite treats with you to distract him if he gets agitated during the process.
- Cleaning solution, you can make your own cleaning solution at home by diluting hydrogen peroxide with water, just mix an equal amount of hydrogen peroxide and water to get your solution. Remember not to use hydrogen peroxide directly without mixing it with water as it may irritate your dog’s ear.
This step-by-step guide will help you clean your dog’s ears at home without any trouble.
1. Wipe The Outer Ear
To clean your dog’s ear flap and the outer ear canal, take a cotton ball and soak it in the hydrogen peroxide cleaning solution, wring any excess solution and gently fold the ear flap back, then wipe the exposed ear canal with the cotton ball. Repeat the process till the cotton ball comes away clean. Make sure not to insert the cotton ball too deep in the ear canal, as it may hurt your pup. You don’t need to worry about cleaning the inner ear canal at this stage, as it is done later in the process by dripping the cleaning solution in your pup’s ear and not by physically inserting a cotton ball.
2. Pour The Solution into The Ear
The second step is to clean the inside of the ear canal, for that you need to drip a generous amount of the hydrogen peroxide cleaning solution in the ear, till the solution is actually overflowing out of your dog’s ear. Using an excess of the cleaning solution will ensure that the entire ear canal is filled with the liquid, thus, there won’t be any buildup left after the cleaning. Keep in mind that as soon as you pour the cleaning solution into your four-legged companion’s ear, he will start shaking his head to get rid of the foreign stuff in his ear. It is better if you distract him with his favorite treat before pouring in the solution.
3. Massage The Ear Canal
Massaging the ear canal after pouring in the cleaning solution is an essential step in properly cleaning your dog’s ear because if your pup gets rid of the cleaning solution before you massage his ear canal, the cleaning won’t be beneficial at all. Keep your pup distracted after pouring in the solution and gently massage the back of the ear from the top to the base, using your forefinger and thumb, as that will help move the solution all the way down in the ear canal and will ensure that the hydrogen peroxide solution breakdowns the built-up wax and debris.
4. Wipe Your Dog’s Ear
You do not need to worry about removing the cleaning solution from your dog’s ear, as your dog will do that work for you. Your dog will shake his head quite vigorously to get rid of the liquid in his ear, after your doggo is done shaking his head, take a clean towel and wipe his head and ears. You can also take some cotton balls dipped in the cleaning solution and softly wipe the outer ears again. This step can be quite messy, as the dirty liquid coming out of your dog’s ear may drop on you or the surrounding carpet or furniture, that is why it is advised to do the cleaning in the bathroom, and you should step back once your dog starts shaking his head.
Some Other Suggestions for Cleaning Dog’s Ears at Home
- Never use Q-tips or anything pointy to clean the inner ears, as you may end up shoving the wax and debris deeper in the ear canal and in the worst-case scenario even damage the thin ear membrane or the fragile internal ear structures that are vital for proper hearing.
- While cleaning, if your dog is experiencing too much pain, discontinue the process and have the ears cleaned by a vet as your dog may have an ear infection or some other condition that is causing him such pain.
- Overcleaning your dog’s ear can cause infections. Despite the common opinion, the overuse of the cleaning solution instead of keeping your pup’s ears clean will, on the contrary, mess up the ear’s PH, which in turn will promote more bacterial and fungal growth.
- Before cleaning your dog’s ear with the hydrogen peroxide solution, you need to make sure that your dog is not suffering from an ear infection or has yeast build-up in his ears, as in these scenarios, cleaning the ear with hydrogen peroxide solution can do more harm than good and may even end up aggravating the situation farther. It is better to get your vet’s opinion before using hydrogen peroxide cleaner at home.
- If you are worried about the wet environment inside your pup’s ears after cleaning with hydrogen peroxide cleaner, you can try a different approach of mixing the hydrogen peroxide with an equal amount of pure apple cider vinegar instead of water. As the apple cider vinegar’s acidic PH is balanced by hydrogen peroxide, this helps kill bacteria and combat the wet environment problem.
How Often Should I Clean My Dog’s Ears?
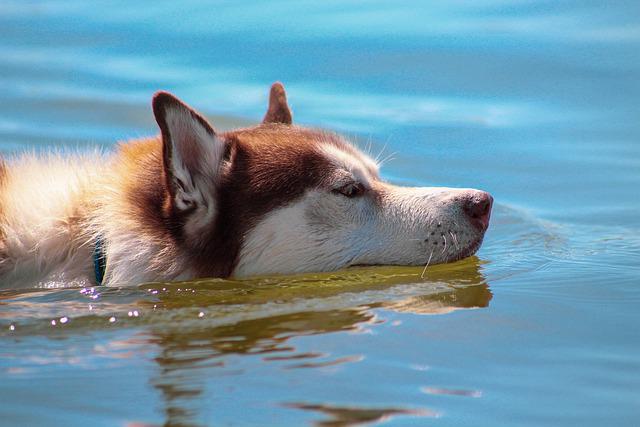
Dogs need to get their ears cleaned once a month, as generally, a dog’s body can get rid of excess wax on its own, but some dog breeds are more prone to build-up due to different factors like their breed and the type of activities they do on daily bases. For e.g., if your dog swims, you should get his ears cleaned more often, consider doing it once every week. Similarly, if your dog has long hair that covers his ears, there is more chance of wax and moisture accumulation, and thus his ears need to be cleaned regularly.
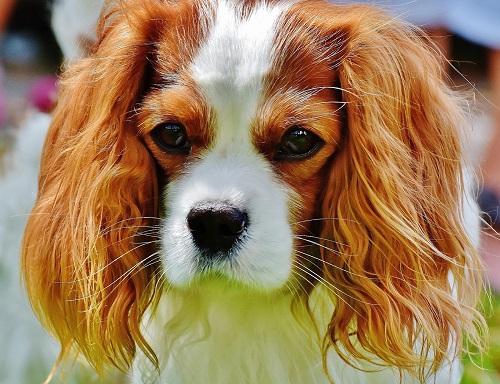
Some dogs produce too much wax while some have ears that flop downward, like cocker spaniels and basset hounds, resulting in the collection of moisture and debris in their ear canals, which is the perfect environment for bacterial propagation. For dogs with such anatomy, cleaning ears regularly is essential. If your dog has previously suffered from an ear infection, he is more likely to get an ear infection again; therefore, you should clean his ears once every few weeks instead of after a month.